I've been taught 3 different ways to make flying geese. Some are no brainers, but take a lot of extra material. The latest method I've been taught is quick, uses minimal material, and fast to do. It requires 3 different rulers, but it's worth the investment if you're going to quilt a lot.

First, use a flying geese ruler to cut one large square and 4 small squares (to make 4 flying geese). I'm not attached to any specific one, I've used several and they all work fine.

Second, take all of the smallest squares and cut off the corners with the second ruler, the Corner Cutter I've never seen this one before and I love it! Why cut off the corner? Because it leaves less bulk in sewing which will lay flatter in the end.

Next, take the two small squares and stick them on top of the larger square (with the cut corners in the middle). Measure diagonally across the smaller squares and use your quarter inch ruler to mark a line a quarter inch above and below the center line. Sew along the outside two lines.
This ruler isn't my favorite. It works fine, but I like to mark the center as well as the two edges. I don't know the name of the ruler that lets me do that, but it has a dash line through the center so you can mark the center as well.

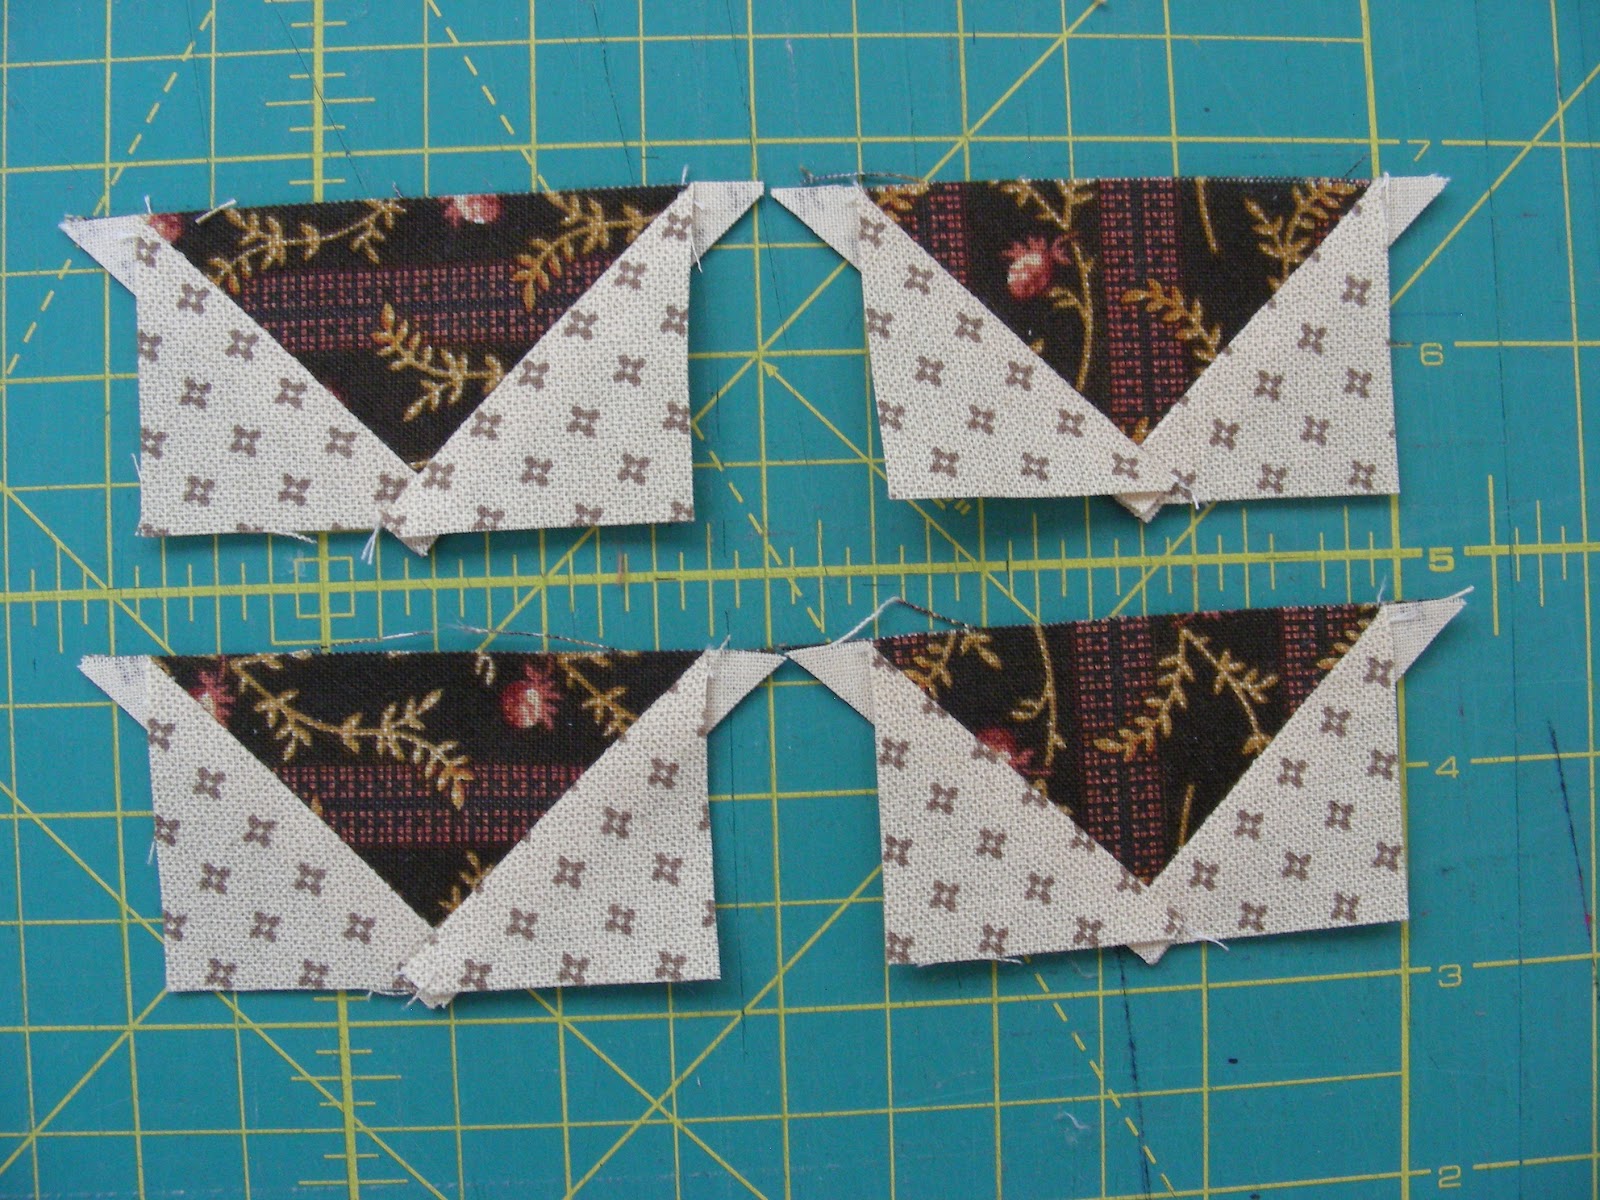
Once the two outer lines are sewn, cut down the middle. Iron the two small triangles out, making two little heart shapes.

Place your last two small squares on top of the point of the heart (make sure you cut the corners of these small squares too). Mark the top and the bottom of the ruler and sew along those lines.

Cut down the center of each square. Iron the other side out, and you've got your 4 flying geese! Trim off the little corners and make sure the geese are the right size. With these rulers, the geese end up pretty much perfect.
Now you can add them to your final square

No comments:
Post a Comment