Saturday, July 12, 2014

Utah Row by Row Experience

Utah Row by Row Experience:  You can go to each of the 21 quilting shops on the list and request a free pattern (from July 1 - Sep 2). Each shop's pattern is the same width, and if you collect 8 you can put them together to make a quilt, or you can just make each individually and make a table runner. The theme this year is Seasons.

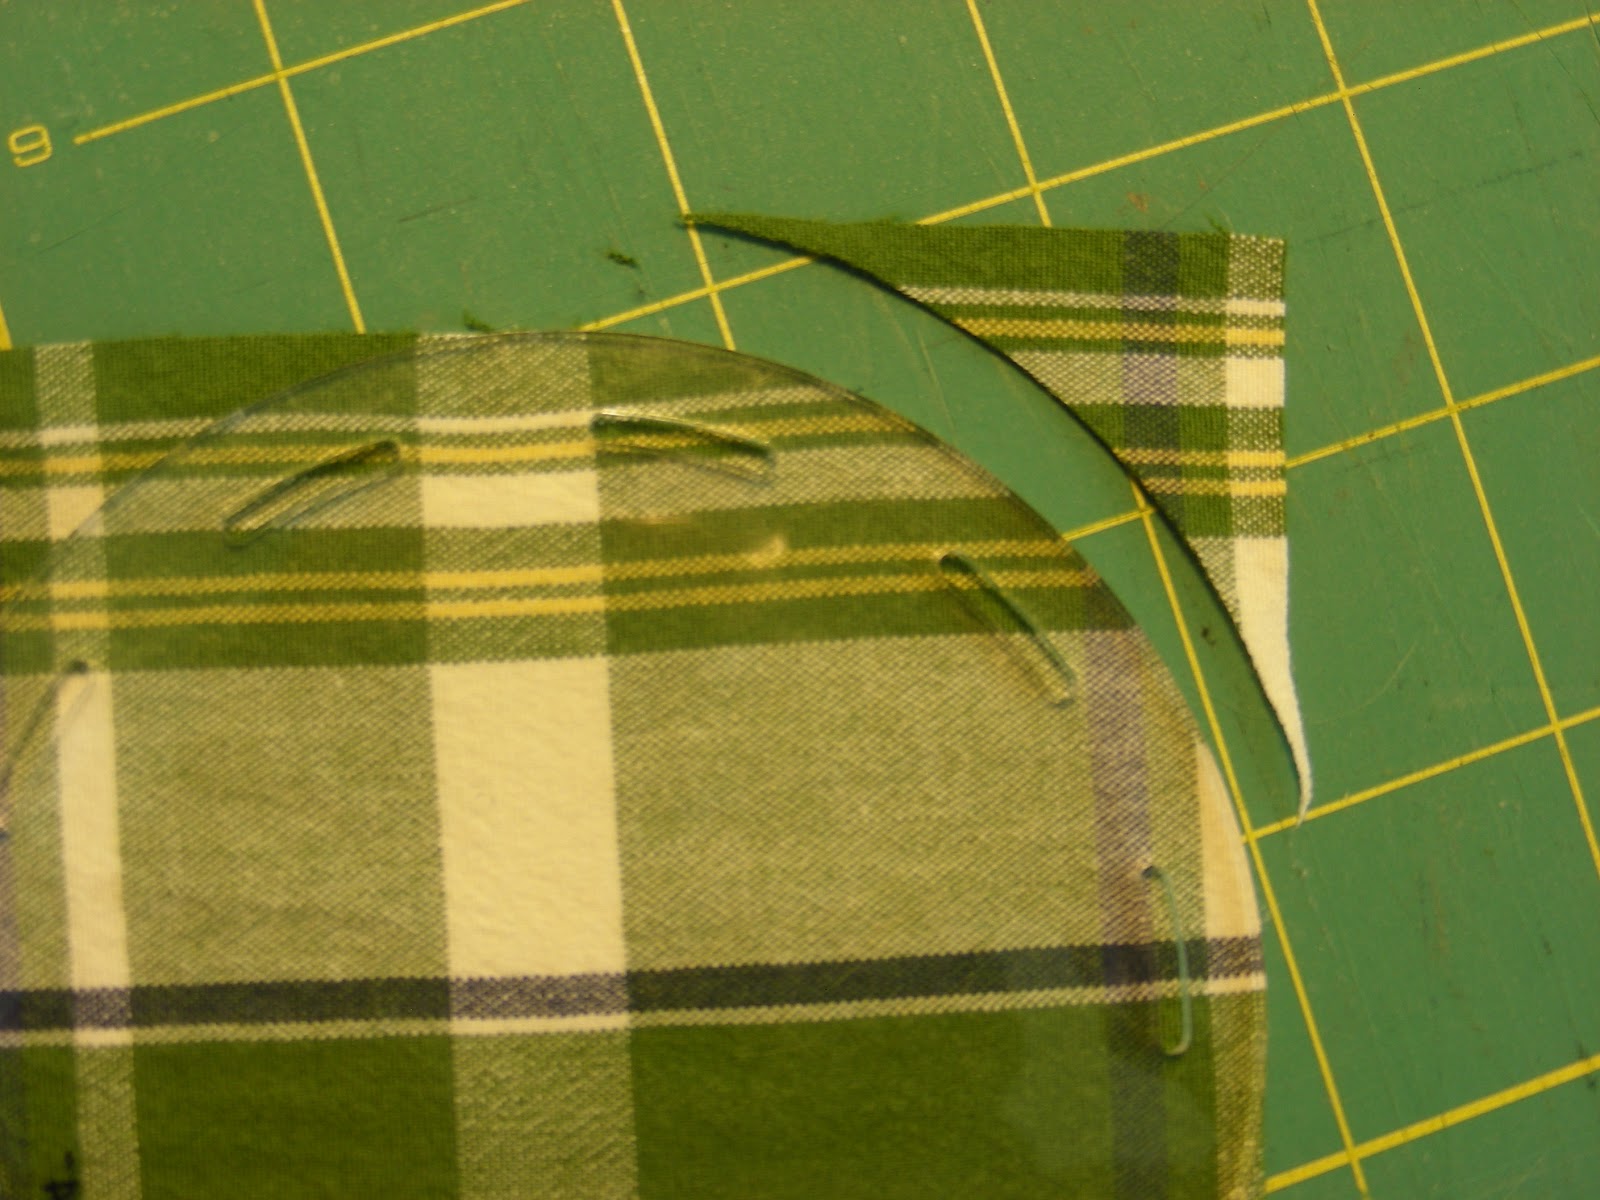
I've included a picture of each pattern and below is the shop where the pattern can be found. The shops/pics are listed in order north to south. Enjoy!


Stylish Fabrics Quilt Shop
138 N Main
Logan, UT  84321


My Girlfriend's Quilt Shoppe
1115 North 200 East #230
Logan, UT 84341


Village Dry Goods LLC
92 S Main
Brigham City, UT  84302


My Heritage Fabrics
1843 Valley Dr.
Ogden, UT  84401


K & H Quilt Shoppe
250 West 200 North #4
Kaysville, UT 84037


Quilter's Attic
2155 S Orchard Dr
Bountiful, UT  84010


Sew Right
2037 East 3300 South
Salt Lake City, UT  84109


Elaine's Quilt Block
6970 South 3000 East
Cottonwood Heights, UT  84121


Pine Needles at Gardner Village
1100 W 7800 S #29S
West Jordan, UT  84088


The Material Girls Quilts
1645 Town Center Drive #4
South Jordan, UT  84095


(NO PICTURE)

The Material Girls Quilts
1645 Town Center Drive #4
South Jordan, UT  84095


Quilt Etc.
11 East Main St.
Sandy, UT  84070


My Sister's Quilts
12544 S. Pasture Rd (4000 W)
Riverton, UT  84096

(NO PICTURE)

Thimbles and Threads
12215 S 900 E
Draper, UT  84020
Just Sew
11073 N. Alpine Hwy. Ste. 101
Highland, UT  84003


American Quilting
426 West 800 North
Orem, UT  84057

(NO PICTURE)

The Stitching Corner
631 E 1700 S
Orem, UT  84097


Corn Wagon Quilt Co.
303 East 400 South
Springville, UT  84663


Mom's Crafts and Fabrics
313 South 100 West
Delta, UT  84624


Stitching It Up
117 N Main Street
Cedar City, UT  84720


Quilted Works
140 North 400 West
St. George, UT  84770


(NO PICTURE)


Scrap Apple Quilts
144 W. Brigham Road #23
St. George, UT  84790

Tuesday, February 19, 2013

Spiderman Squares


The Spiderman quilt is consuming all my free time. I finished two of the three accent squares (that are going across the foot of the bed). The eyes are appliqued. They weren't too hard, just took a lot of time.


I created a paper piecing pattern to make the spider web. It was a ton of work, but not too difficult. I think I will end up doing a paper piecing pattern for the third accent square (a spider). I just have to design it first.

Friday, February 15, 2013

Spiderman Blanket (coming soon)


About a month ago my son got a big boy bed! Since he's only 18 months and he tends to crawl all over in his sleep, it's just a mattress on the floor, but he's still so proud of it! We let him pick out his own sheets and he surprised us by choosing Spiderman (which he affectionately calls "pider" or "man", depending on the day).


I didn't love any of the blankets that were for sale with the sheets. They're way to cheap looking and not at all cute. So, I've planned out a quilt and purchased the material to make for my husband Logan. I'm excited to have designed it, and can't wait to get it done and on his bed! I'll keep you posted on how it goes.

Tuesday, February 12, 2013

Felt Breakfast


I've been doing a lot of cooking lately and as a result my son has wanted to do a lot of cooking too. So much so that he would ask for snacks and when I gave him something he would dump them in his pot and start stirring it. So I decided to make him some fake food to cook with. It's a quick and easy project, and he's loved the results!


I've scanned my pattern so you can make some too! If you want the PDF, just leave a comment with your email address and I can send it to you. To make these I sewed on the accents on one of the bases first (ex. for the waffle or the egg), then I sewed the back on. 

I made the syrup and strawberry syrup separate from the waffle and the pancake, so Logan can choose which syrup he wants when he gets to the point where he cares. The apple is the same pattern as the orange, just without the sections sewn in.


Friday, February 8, 2013

Website Revamp: Stage 1

It's been a crazy few weeks around the Plastow house! My husband and son both were sick for about a week and a half. It put quite a damper on my sewing, but we're better again and back in the game! So be ready for more.

I know this site hasn't been up too long, but one of my New Years Resolutions was to fix it up. I've always wanted to have a few tabs to make it easy to find a project when you're looking for something specifically. So now you can find what you're looking for by clicking on the tabs at the top.

The tabs are organized into the sections "Tutorials" and "Inspiration". If I get enough feedback from the inspirations, I can work on a tutorial for those as well.

I have visions of getting a new background and a new header, I just have to sweet talk my graphic designer of a husband into helping me out. The problem is I don't exactly know what I want yet. I'm sure I'll figure it out eventually though!

Tuesday, January 22, 2013

Shopping Bag Holder (small)


Lately I've been looking for something to put my plastic shopping bags in to keep in different rooms in my house. Especially for my son's bedroom. We use cloth diapers and have a diaper pail for those, but when we have a babysitter or the grandparents are watching him, we put him in disposable. So I keep some shopping bags in his room to make throwing away easy.

I wanted something to hang from the changing table to hold shopping bags. This is what I came up with. It has a snap for easy removal from the changing table, and it holds up to NUMBER bags so Grandma will never run out!

Supplies
(2) 12 x 6.5 inch pieces of material
(1) 8.5 x 1 inch piece of material
(2) 7 inch pieces of 1/4 inch elastic


First, fold over & iron the top of the 12 x 6.5 inch material 1/4 inch. Then fold over again 1 1/2 inches to make a cuff. Sew along the very top of the material. Sew again 1/2 inch below the previous line. Do this on both large pieces of material.


Feed the elastic through the 1/2 inch between the sewn lines. Sew down the elastic on one side. Do this on both large pieces of material.


Pull the elastic until the material measures 4 inches. Sew down the second side to hold it in place. Do this to both large pieces of material.


Round off the remaining two corners of the large pieces of material. I used a 4 inch circle to round off my corners.

Take the small piece of material, fold the sides into the center. Also fold one of the short ends down zigzag across the center to hold it in place.


Pin the unfinished side of the small piece of material between the two rounded edges. Then pin the two large pieces of material together with like sides facing each other (bad sides out). Sew along these lines.


Flip the bag right sides out. Take the seams and fold them apart and zigzag them down. This will help prevent fraying when removing baggies from the sack.

Attach a snap to the loop, and you're ready to use this bad boy! Hang it where you know you need bags.