Wednesday, May 15, 2013
Tuesday, February 19, 2013
Spiderman Squares
The Spiderman quilt is consuming all my free time. I finished two of the three accent squares (that are going across the foot of the bed). The eyes are appliqued. They weren't too hard, just took a lot of time.
I created a paper piecing pattern to make the spider web. It was a ton of work, but not too difficult. I think I will end up doing a paper piecing pattern for the third accent square (a spider). I just have to design it first.
Friday, February 15, 2013
Spiderman Blanket (coming soon)
Tuesday, February 12, 2013
Felt Breakfast
I've been doing a lot of cooking lately and as a result my son has wanted to do a lot of cooking too. So much so that he would ask for snacks and when I gave him something he would dump them in his pot and start stirring it. So I decided to make him some fake food to cook with. It's a quick and easy project, and he's loved the results!
I've scanned my pattern so you can make some too! If you want the PDF, just leave a comment with your email address and I can send it to you. To make these I sewed on the accents on one of the bases first (ex. for the waffle or the egg), then I sewed the back on.
I made the syrup and strawberry syrup separate from the waffle and the pancake, so Logan can choose which syrup he wants when he gets to the point where he cares. The apple is the same pattern as the orange, just without the sections sewn in.
Friday, February 8, 2013
Website Revamp: Stage 1
It's been a crazy few weeks around the Plastow house! My husband and son both were sick for about a week and a half. It put quite a damper on my sewing, but we're better again and back in the game! So be ready for more.
I know this site hasn't been up too long, but one of my New Years Resolutions was to fix it up. I've always wanted to have a few tabs to make it easy to find a project when you're looking for something specifically. So now you can find what you're looking for by clicking on the tabs at the top.
The tabs are organized into the sections "Tutorials" and "Inspiration". If I get enough feedback from the inspirations, I can work on a tutorial for those as well.
I have visions of getting a new background and a new header, I just have to sweet talk my graphic designer of a husband into helping me out. The problem is I don't exactly know what I want yet. I'm sure I'll figure it out eventually though!
I know this site hasn't been up too long, but one of my New Years Resolutions was to fix it up. I've always wanted to have a few tabs to make it easy to find a project when you're looking for something specifically. So now you can find what you're looking for by clicking on the tabs at the top.
The tabs are organized into the sections "Tutorials" and "Inspiration". If I get enough feedback from the inspirations, I can work on a tutorial for those as well.
I have visions of getting a new background and a new header, I just have to sweet talk my graphic designer of a husband into helping me out. The problem is I don't exactly know what I want yet. I'm sure I'll figure it out eventually though!
Tuesday, January 22, 2013
Shopping Bag Holder (small)
Lately I've been looking for something to put my plastic shopping bags in to keep in different rooms in my house. Especially for my son's bedroom. We use cloth diapers and have a diaper pail for those, but when we have a babysitter or the grandparents are watching him, we put him in disposable. So I keep some shopping bags in his room to make throwing away easy.
I wanted something to hang from the changing table to hold shopping bags. This is what I came up with. It has a snap for easy removal from the changing table, and it holds up to NUMBER bags so Grandma will never run out!
Supplies
(2) 12 x 6.5 inch pieces of material
(1) 8.5 x 1 inch piece of material
(2) 7 inch pieces of 1/4 inch elastic
First, fold over & iron the top of the 12 x 6.5 inch material 1/4 inch. Then fold over again 1 1/2 inches to make a cuff. Sew along the very top of the material. Sew again 1/2 inch below the previous line. Do this on both large pieces of material.
Feed the elastic through the 1/2 inch between the sewn lines. Sew down the elastic on one side. Do this on both large pieces of material.
Pull the elastic until the material measures 4 inches. Sew down the second side to hold it in place. Do this to both large pieces of material.
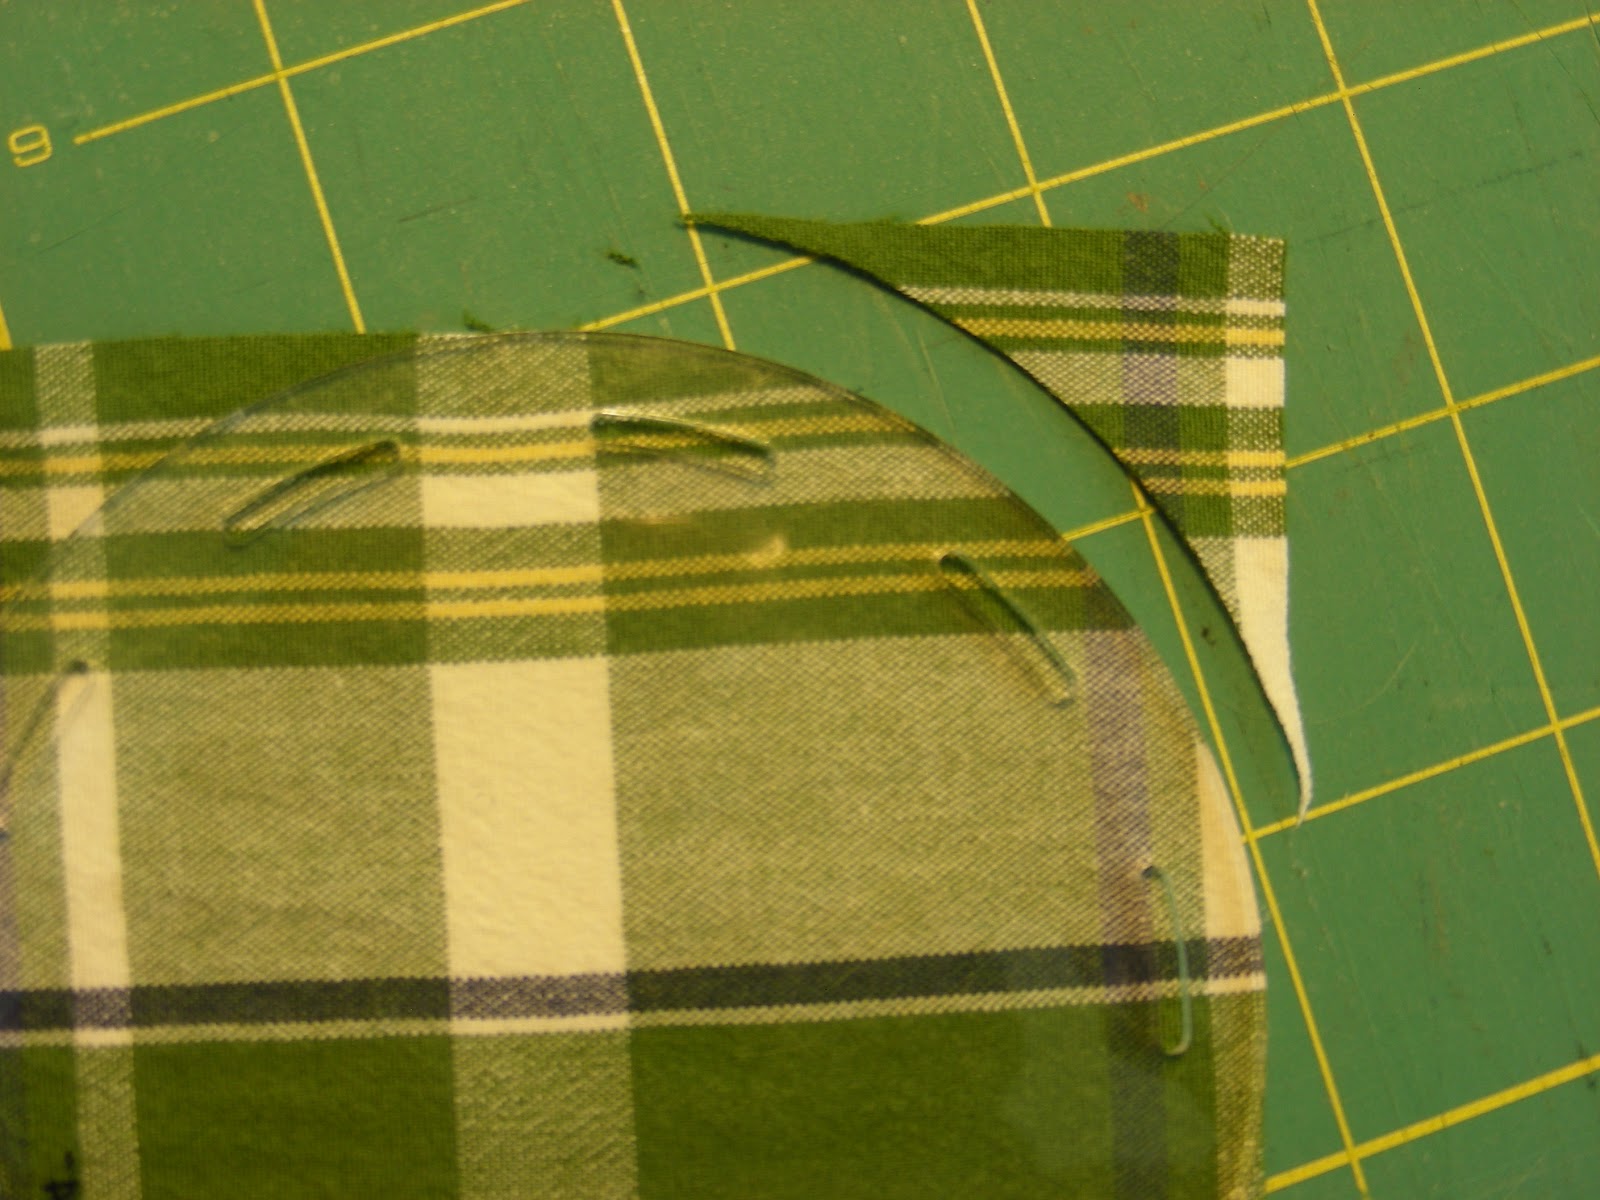
Round off the remaining two corners of the large pieces of material. I used a 4 inch circle to round off my corners.
Take the small piece of material, fold the sides into the center. Also fold one of the short ends down zigzag across the center to hold it in place.
Pin the unfinished side of the small piece of material between the two rounded edges. Then pin the two large pieces of material together with like sides facing each other (bad sides out). Sew along these lines.
Flip the bag right sides out. Take the seams and fold them apart and zigzag them down. This will help prevent fraying when removing baggies from the sack.
Attach a snap to the loop, and you're ready to use this bad boy! Hang it where you know you need bags.
Friday, January 18, 2013
Album Square
The Album Square is a classic quilting design. Back in the day ladies would make these big enough to embroider in the middle and exchange with friends to make a friendship quilt. Mine are quite a bit smaller, but all the cuter for it.
Supplies
1 7/8 inch square (color 1: center)
(2) 1 1/4 x 3 inch (color 1: corner squares)
(2) 1 1/4 x 2 1/2 inch (color 2: side bars)
2 1/2 x 3 inch (color 2: side bars)
(2) 2 1/2 inch squares, cut diagonally to make 4 total triangles
Pin the two 1 1/4 x 3 inch strips onto the 3 inch side of the 2 1/2 x 3 inch strips. Sew them down. Iron towards the center and cut into two 1 1/4 x 4 inch strips.
Center two of the triangles onto the center square. sew them down and iron towards the triangles.
Center and sew the remaining two triangles onto the square and press towards the triangles.
Cut down the square so it is 2 1/2 inches.
Lay out the final square as above. Sew the top and bottom bar to the center square and iron away from the center square. Pin the sides on and sew them to the center.
These squares should measure 4 inches total.
Subscribe to:
Posts (Atom)